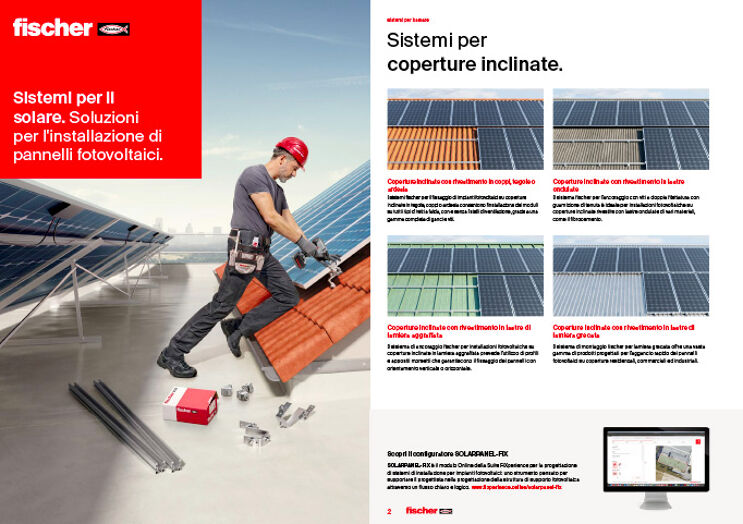
Sistemi per il solare.
La gamma completa di soluzioni per l'installazione di pannelli fotovoltaici.
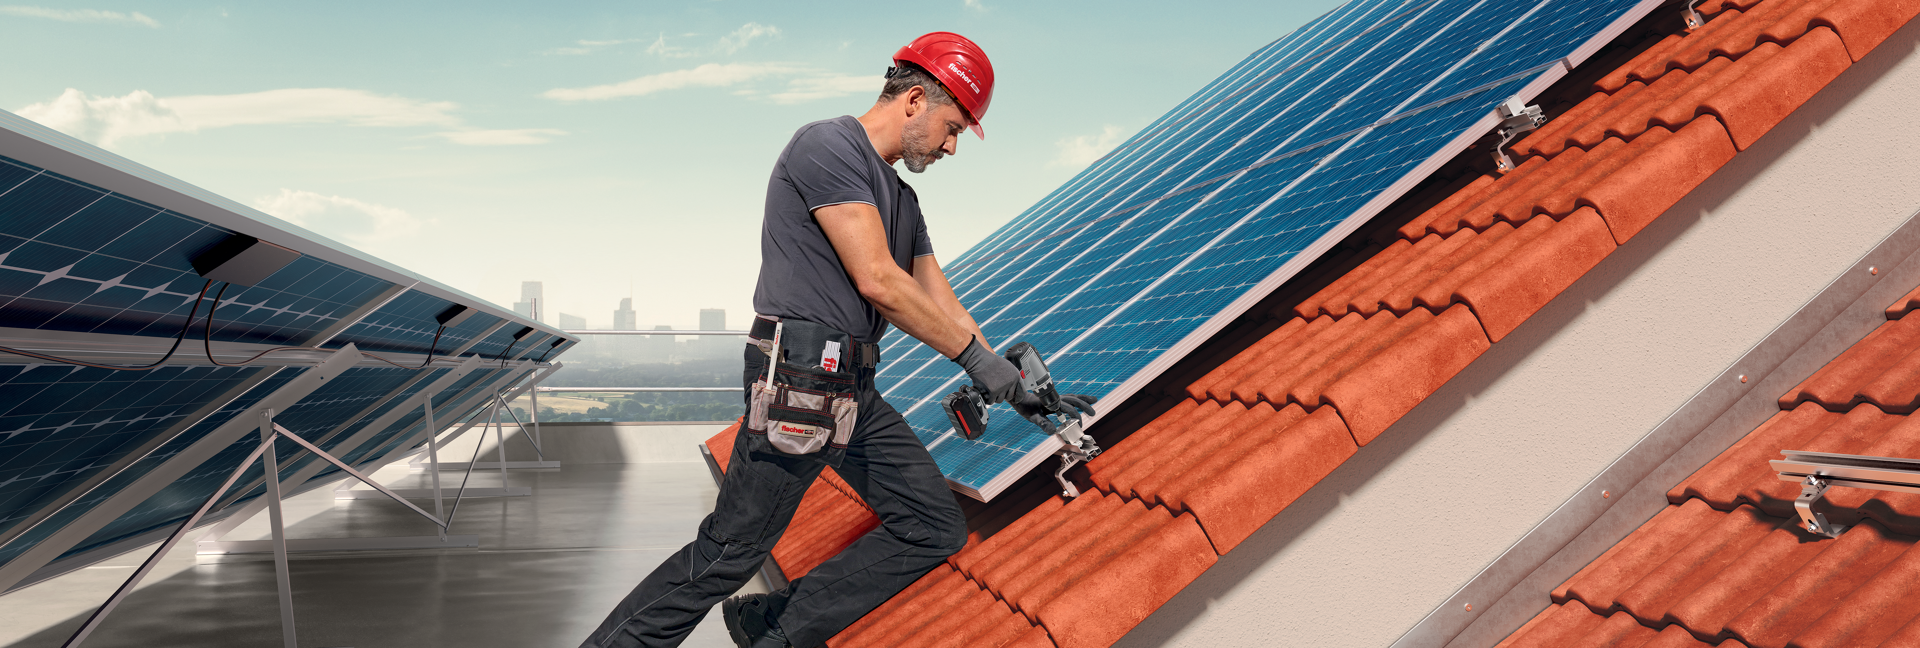
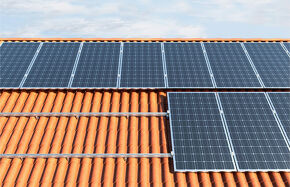
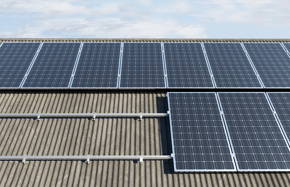
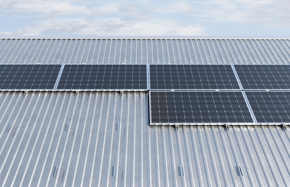
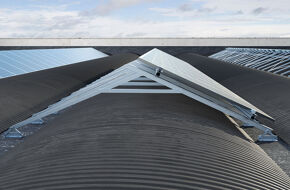
I pannelli fotovoltaici rappresentano una soluzione sostenibile per produrre energia elettrica o termica, con numerosi vantaggi e benefici sia dal punto di vista ambientale che economico. Per fissare i moduli fotovoltaici, fischer offre sistemi da installare direttamente sulla struttura della copertura, piana o inclinata, adatti a diverse tipologie di rivestimento (tegole, coppi, ardesia, lastre in laterocemento, lamiera grecata o aggraffata, guaina impermeabilizzante).
Che si tratti di impianti per edifici ad uso industriale, commerciale o residenziale, i sistemi di fissaggio fischer offrono sicurezza ed elevate prestazioni: una gamma completa che soddisfa molteplici esigenze progettuali.
Abbiamo raccolto in un documento i prodotti e le principali applicazioni dei sistemi di installazione per pannelli fotovoltaici.
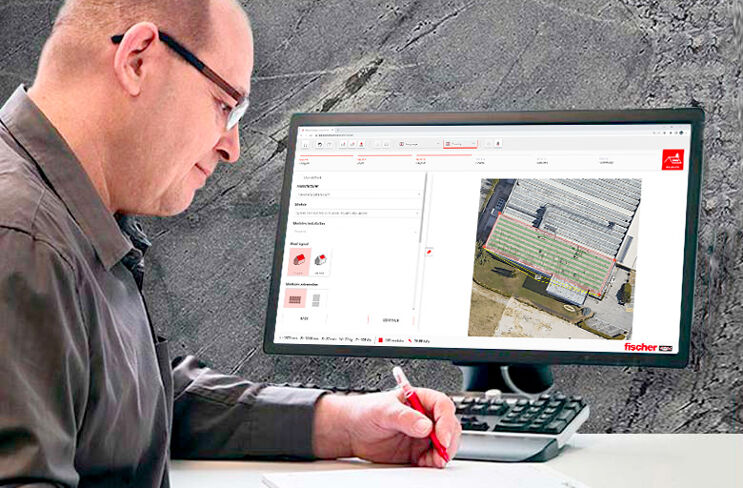
SOLARPANEL-FIX è il modulo Online della Suite FiXperience per la progettazione di sistemi di installazione per impianti fotovoltaici: uno strumento pensato per supportare il progettista nella progettazione della struttura di supporto fotovoltaica attraverso un flusso chiaro e logico.
Il software permette di calcolare l’azione della neve e del vento in modo automatico attraverso la geolocalizzazione del sito di costruzione, secondo i requisiti della Norma Europea EN 1991 (Eurocodice 1). Inoltre, consente di scaricare la distinta dei materiali necessari per realizzare la struttura di supporto dell’impianto, il Piano di installazione e la Relazione Tecnica, nella quale sono riportate le verifiche strutturali degli elementi che compongono il sistema secondo le Norme Europee EN 1993 (Eurocodice 3), EN 1999 (Eurocodice 9) e specifiche fischer.